Below is the Linux Spark-TTS Installation Guide. If you are using Windows, please refer to the Windows Installation Guide.
Linux Spark-TTS Installation Guide
Clone and Install
1. Clone the repo
git clone https://github.com/SparkAudio/Spark-TTS.git
cd Spark-TTS
2. Install Conda: please see https://docs.conda.io/en/latest/miniconda.html
3. Create Conda env:
conda create -n sparktts -y python=3.12
conda activate sparktts
pip install -r requirements.txt
# If you are in mainland China, you can set the mirror as follows:
pip install -r requirements.txt -i https://mirrors.aliyun.com/pypi/simple/ --trusted-host=mirrors.aliyun.com
Model Download
4. Download via python:
from huggingface_hub import snapshot_download

snapshot_download("SparkAudio/Spark-TTS-0.5B", local_dir="pretrained_models/Spark-TTS-0.5B")
5. Download via git clone:
mkdir -p pretrained_models

# Make sure you have git-lfs installed (https://git-lfs.com)
git lfs install

git clone https://huggingface.co/SparkAudio/Spark-TTS-0.5B pretrained_models/Spark-TTS-0.5B
Basic Usage
You can simply run the demo with the following commands:
cd example
bash infer.sh
Alternatively, you can directly execute the following command in the command line to perform inference:
python -m cli.inference \
    --text "text to synthesis." \
    --device 0 \
    --save_dir "path/to/save/audio" \
    --model_dir pretrained_models/Spark-TTS-0.5B \
    --prompt_text "transcript of the prompt audio" \
    --prompt_speech_path "path/to/prompt_audio"
Web UI Usage
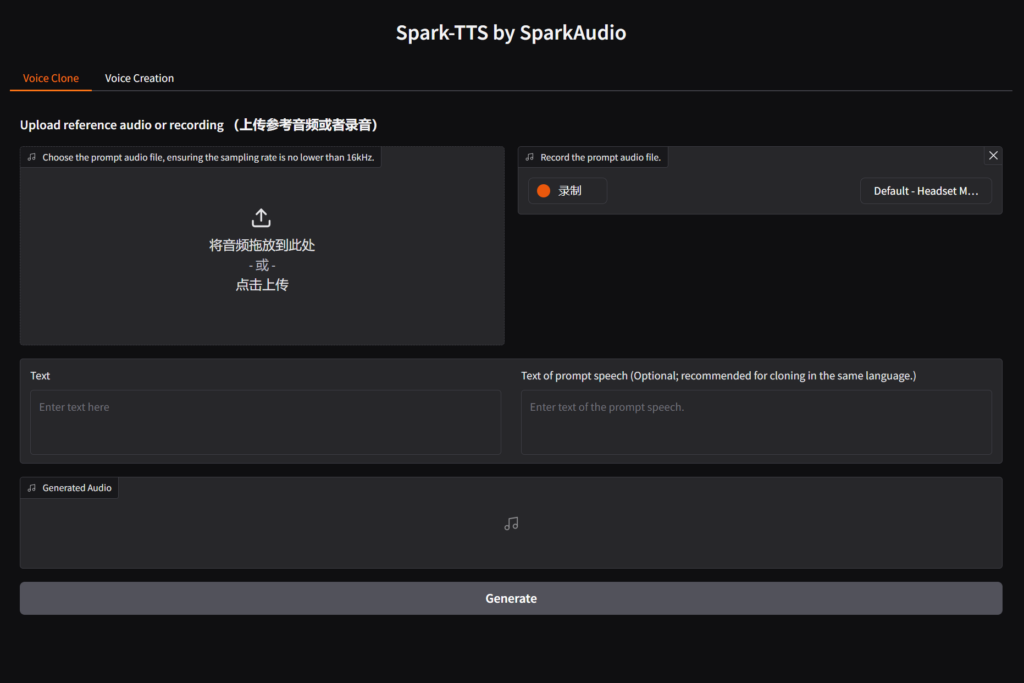
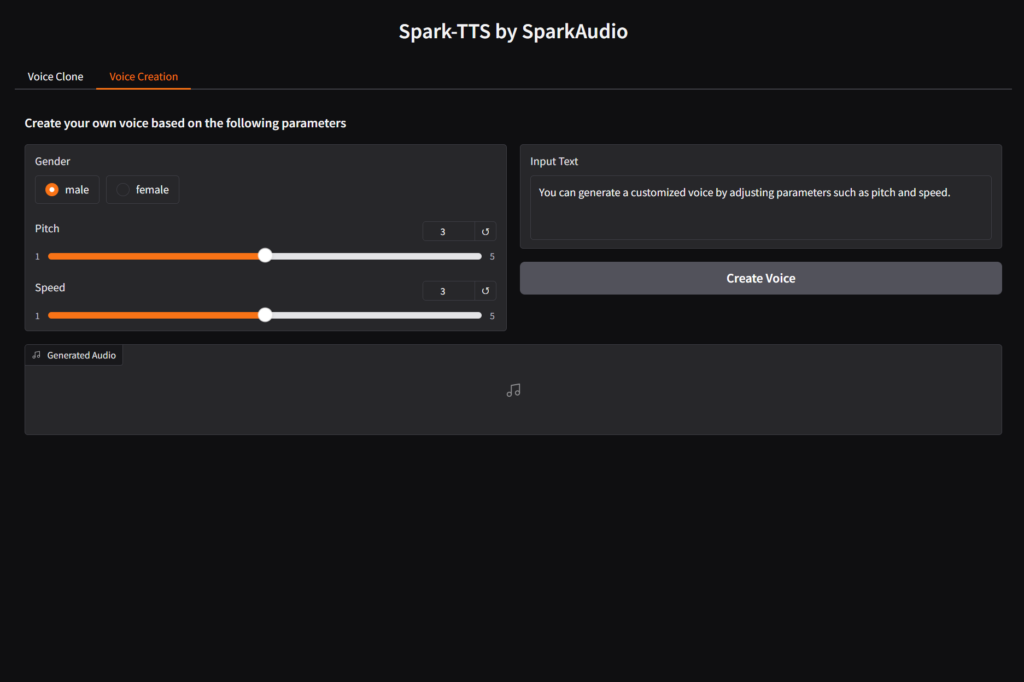
You can start the UI interface by running python webui.py --device 0, which allows you to perform Voice Cloning and Voice Creation. Voice Cloning supports uploading reference audio or directly recording the audio.
Voice Cloning
Voice Creation
Leave a Reply